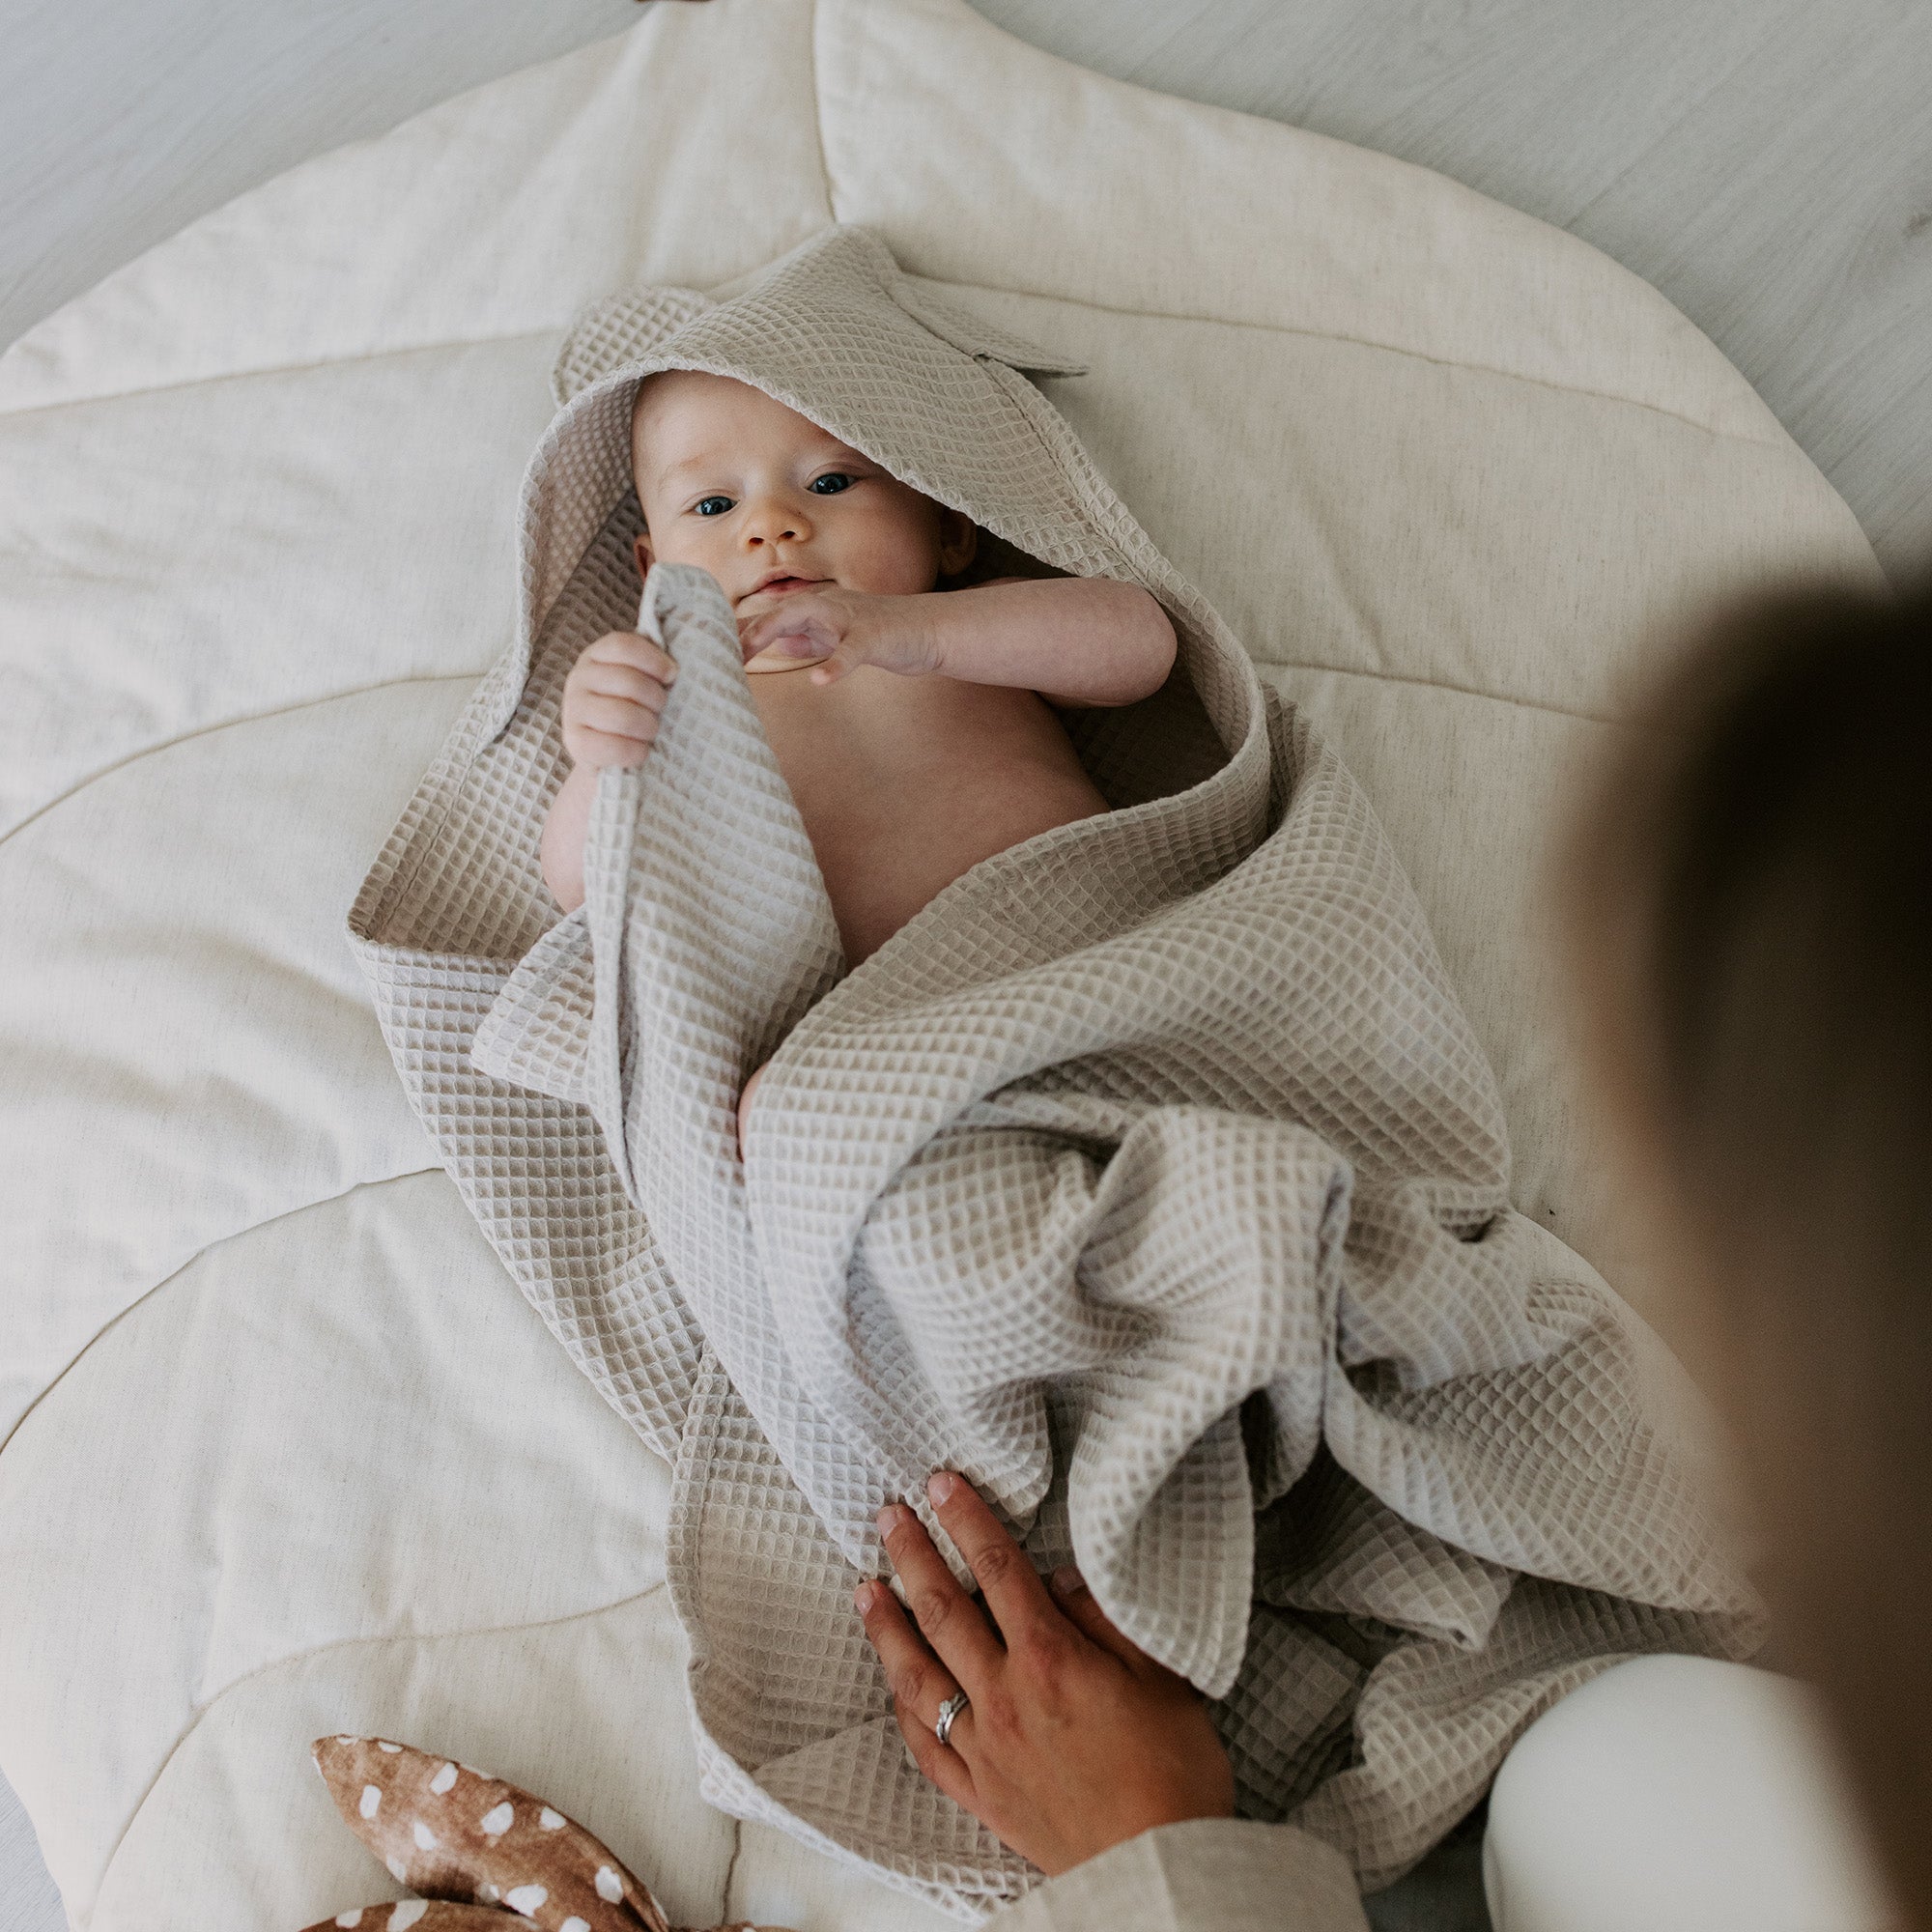
A fun way to make your sewing projects a little more personal is to iron on a vinyl print. Vinyl prints come in all sorts of colors, shapes and textures and can be ironed on with a regular iron. Provided the print is correctly attached, it can withstand machine washing up to 60 degrees and holds both woven and knitted fabrics.
To be successful with your vinyl printing, there are a few things you need to keep in mind. For example. the motif needs both heat and hard pressure to fuse to the fabric, therefore an ironing board is not an optimal surface when you want to iron the motif (it is too soft and cannot withstand you pressing with your whole weight on the iron). Instead, work on a solid kitchen table or workbench with a heat-resistant cutting board or similar as a mat.
All vinyl prints come with instructions regarding the temperature at which they should be ironed and at what intervals. In addition, some prints must cool before removing the protective plastic, while for others you must remove the protective plastic while it is still warm. Always follow the directions for your specific print.
01. Make sure the fabric can withstand heat/ironing. Feel free to do a test ironing on a sample piece.
02. Carefully remove the thin protective plastic from the back of the design before you start ironing
03. Place the motif on the fabric with the sticky side of the thick protective plastic against the fabric
04. Press hard (as hard as you can!) with an iron on the motif through the protective film for 15 seconds at 160 degrees (this corresponds to about 2 dots on most irons). Do not use the steam function and do not move the iron back and forth.
ATTENTION! Always iron through the thick protective film or baking paper, never directly onto the design.
05. Carefully try to pry off the protective film while it is still warm. If the subject is not in place, you need to repeat the ironing in 15 second intervals until the subject is in place.
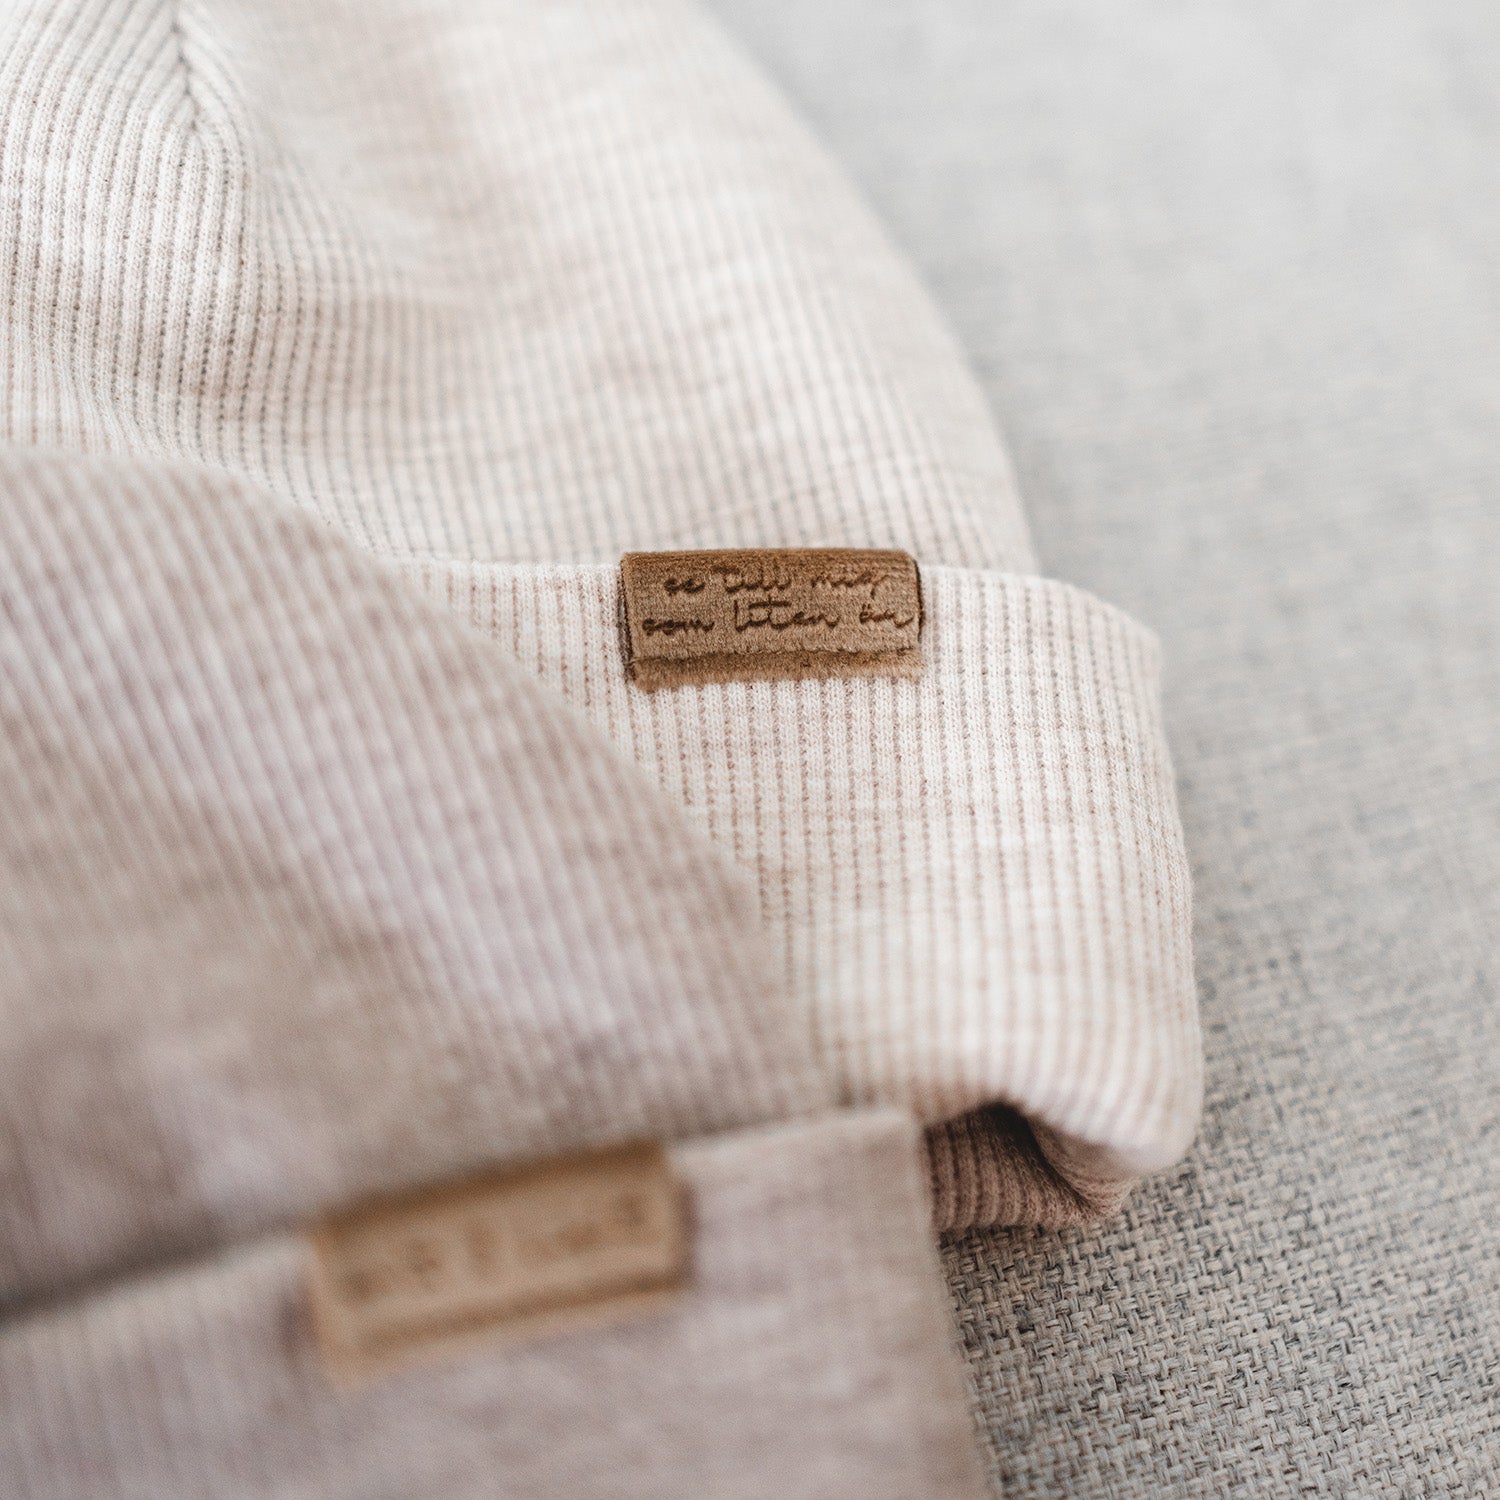
06. The design is firmly attached when you can see the texture of the fabric through the design and the print is fused to the fabric. When you run your finger over the motif, you should not feel any edges
07. If you are still not sure if the motif is properly seated, you can repeat the ironing in 15 second intervals (through the protective film or baking paper!) until you are satisfied and the motif is securely seated
A correctly attached motif can withstand machine washing at up to 60 degrees. Motifs that have come loose at the edges can possibly be ironed on again in the same way as described above.
Note that different irons have different heat settings, check yours before you start.
Sandramarias is not responsible for mishandled or incorrectly attached motifs or the possible damage these cause.
0 comments