By Sandramaria
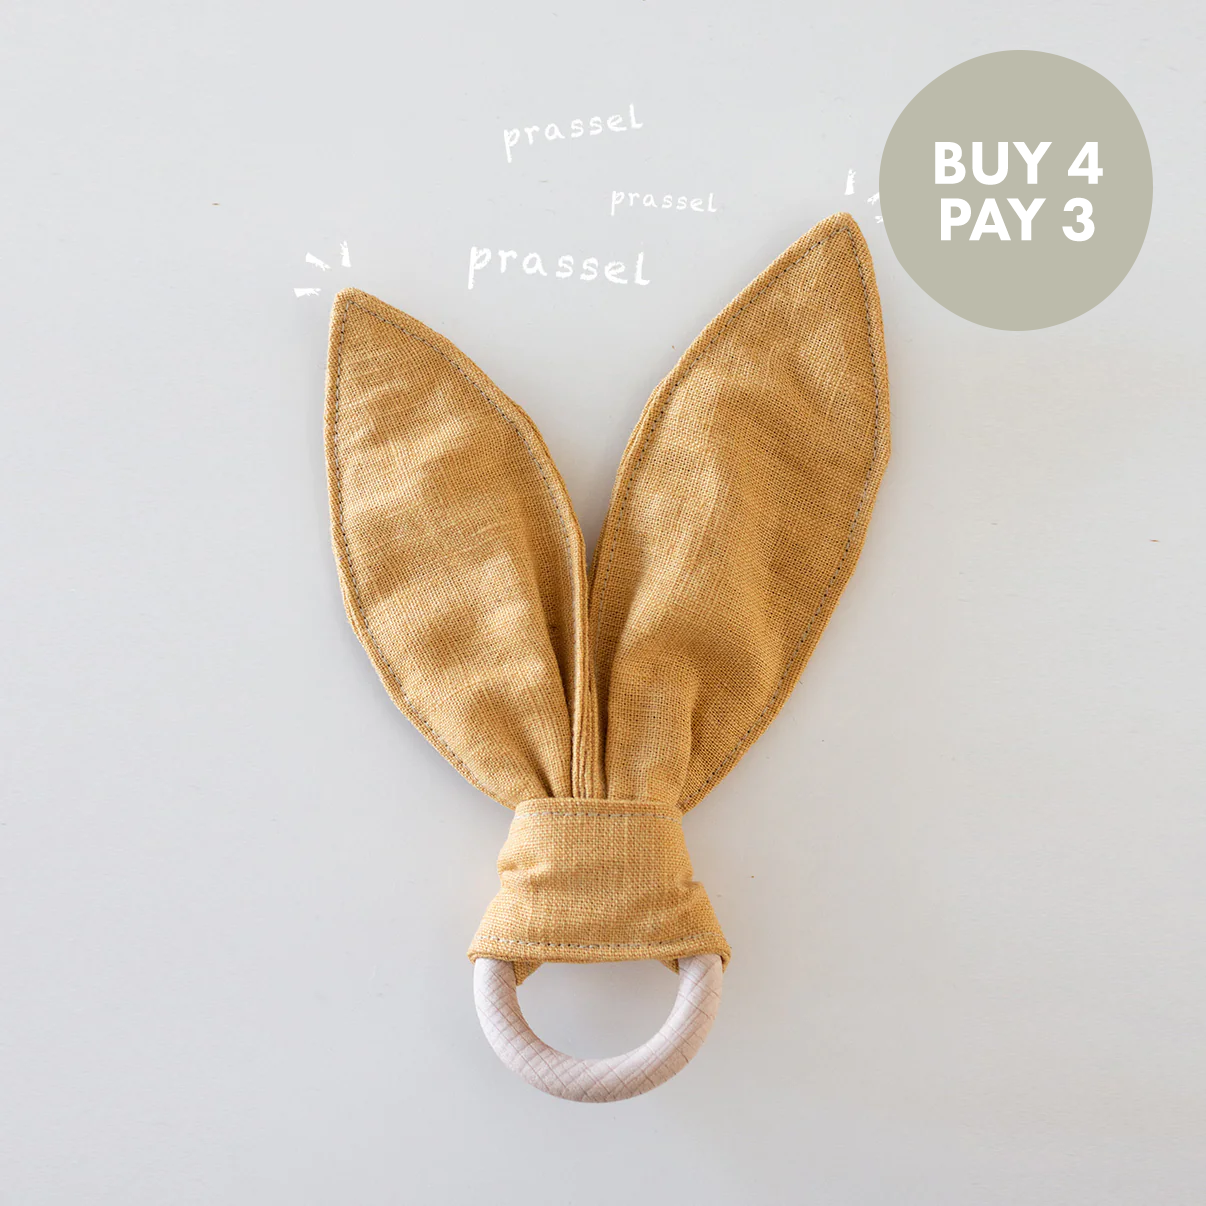
Prasslis – Rustling Baby Toy
Sewing pattern for rustling bunny ears - a favorite toy for babies
What you need:
- Two pieces of fabric, each 10 x 50 cm
- Rattle cellophane, 10 x 50 cm (can be bought at e.g. Hobbii)
- A wooden ring, 55 mm in diameter
Other supplies that are good to have: Tape measure, buttons/sewing clips, fabric scissors, matching sewing thread, iron.
Sewn with a regulare sewing machine .
I recommend that you use a woven fabric that does not stretch when using rattle cellophane on the inside.
Difficulty: ★ (1 of 3)
This pattern makes a bunny with rustling ears that your baby will love! Prasslis is a beginner-friendly and very quick pattern that possibly is a bit addictive ;)
I recommend making the bunny ears with rattle cellophane inside (just like I show in the pattern) as they will be much more fun for babies. But you can absolutely make the project without plastic wrap if you prefer.
The finished Prasslis will be about X cm high including the wooden ring.
common questions
How are PDF patterns delivered?
The pattern is delivered as a .zip file to your inbox within 30 minutes of purchase and contains:
- Step-by-step instructions with accompanying images as a PDF file
- A pattern sheet for home printing (several pages A4)
- A pattern sheet for printing at e.g. printing office (one page in large print format)
The pattern for home printing (size A4) needs to be assembled before use. Here you will find a video on how to assemble PDF patterns.
What does stretch percentage mean?
The term "stretch percentage" is used to indicate how much a fabric stretches.
This should not be confused with the proportion of elastane present in the fabric (eg jersey 95% cotton, 5% elastane).
Some patterns are created with a certain percentage of stretch in mind, and if your fabric has a different percentage of stretch, you may need to adjust the size.
In all By Sandramaria patterns' product descriptions, it is clearly stated if you need fabric with a certain stretch price to be able to sew the project. In that case, you see this even before you buy the pattern.
You can e.g. use this stretch guide to determine the stretch percentage of your fabric.
Levels of difficulty
★ 1 – Easy / Beginner
Patterns in this category are designed so that you don't need any prior knowledge to get started. In the pattern, you will see me explain the various steps step-by-step through text and images, and in some patterns I link to more comprehensive video instructions.
In this category you will encounter concepts such as e.g. right side, wrong side, against folded edge, cut out two mirror images, straight stitch, zigzag and simple embroidery.
------------
★ ★ 2 – Medium
Patterns in this category suit you who have sewn a few projects and feel a little more comfortable at the sewing machine. Even in these patterns, you will see me explain the different steps step-by-step through text and images, and in some patterns I link to more extensive video instructions.
In this category you will (in addition to the previously mentioned concepts) meet techniques such as e.g. stealth seam/invisible seam, straight corners, sew edging and sew zipper.
------------
★ ★ ★ 3 – Difficult
Patterns in this category assume that you are an experienced seamstress who knows the most common sewing techniques. Even in these patterns, you will see me explain the different steps step-by-step through text and images, and in some patterns I link to more comprehensive video instructions.