By Sandramaria
Luvis – the Santa hat
Luvis – the Santa hat
Sewing patterns on long Santa hats for the whole family.
Couldn't load pickup availability
You need:
- Knitted fabric with approx. 40-50% stretch.
- Tassel or other pompom, approx. 8-15 cm in diameter.
Other good things to have: Matching sewing thread, fabric scissors, needles or sewing clips, iron, a sharp slightly coarser hand sewing needle and possibly a sewing marker.
Sewn with ordinary sewing machine .
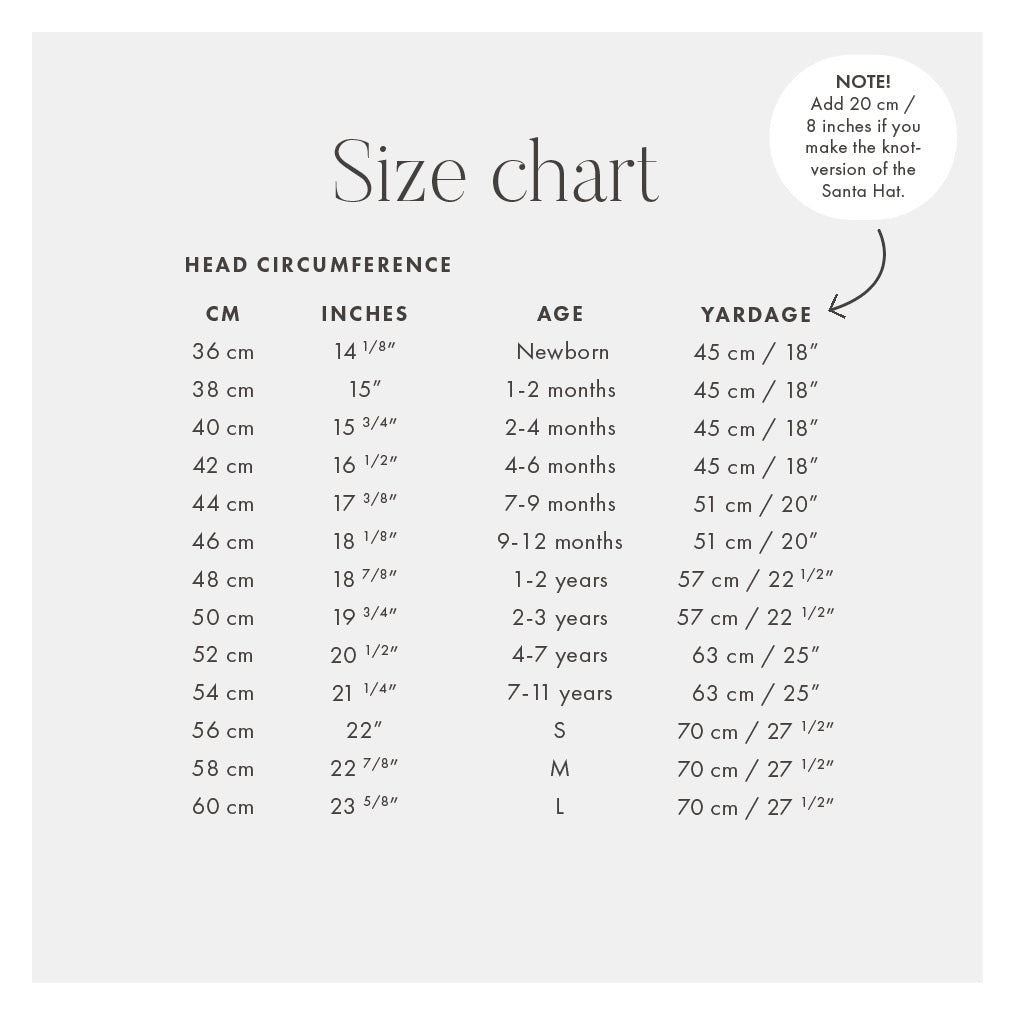
You can find the length of the hood in each size in the measurement table next to this.
Feel free to buy a little more fabric than the length of the size of hood you intend to sew, as the fabric often shrinks during pre-washing .
If your pompom doesn't have long ribbons to fasten with, you need to sew strong cotton ribbons yourself.
Difficulty: ★ (1 of 3)
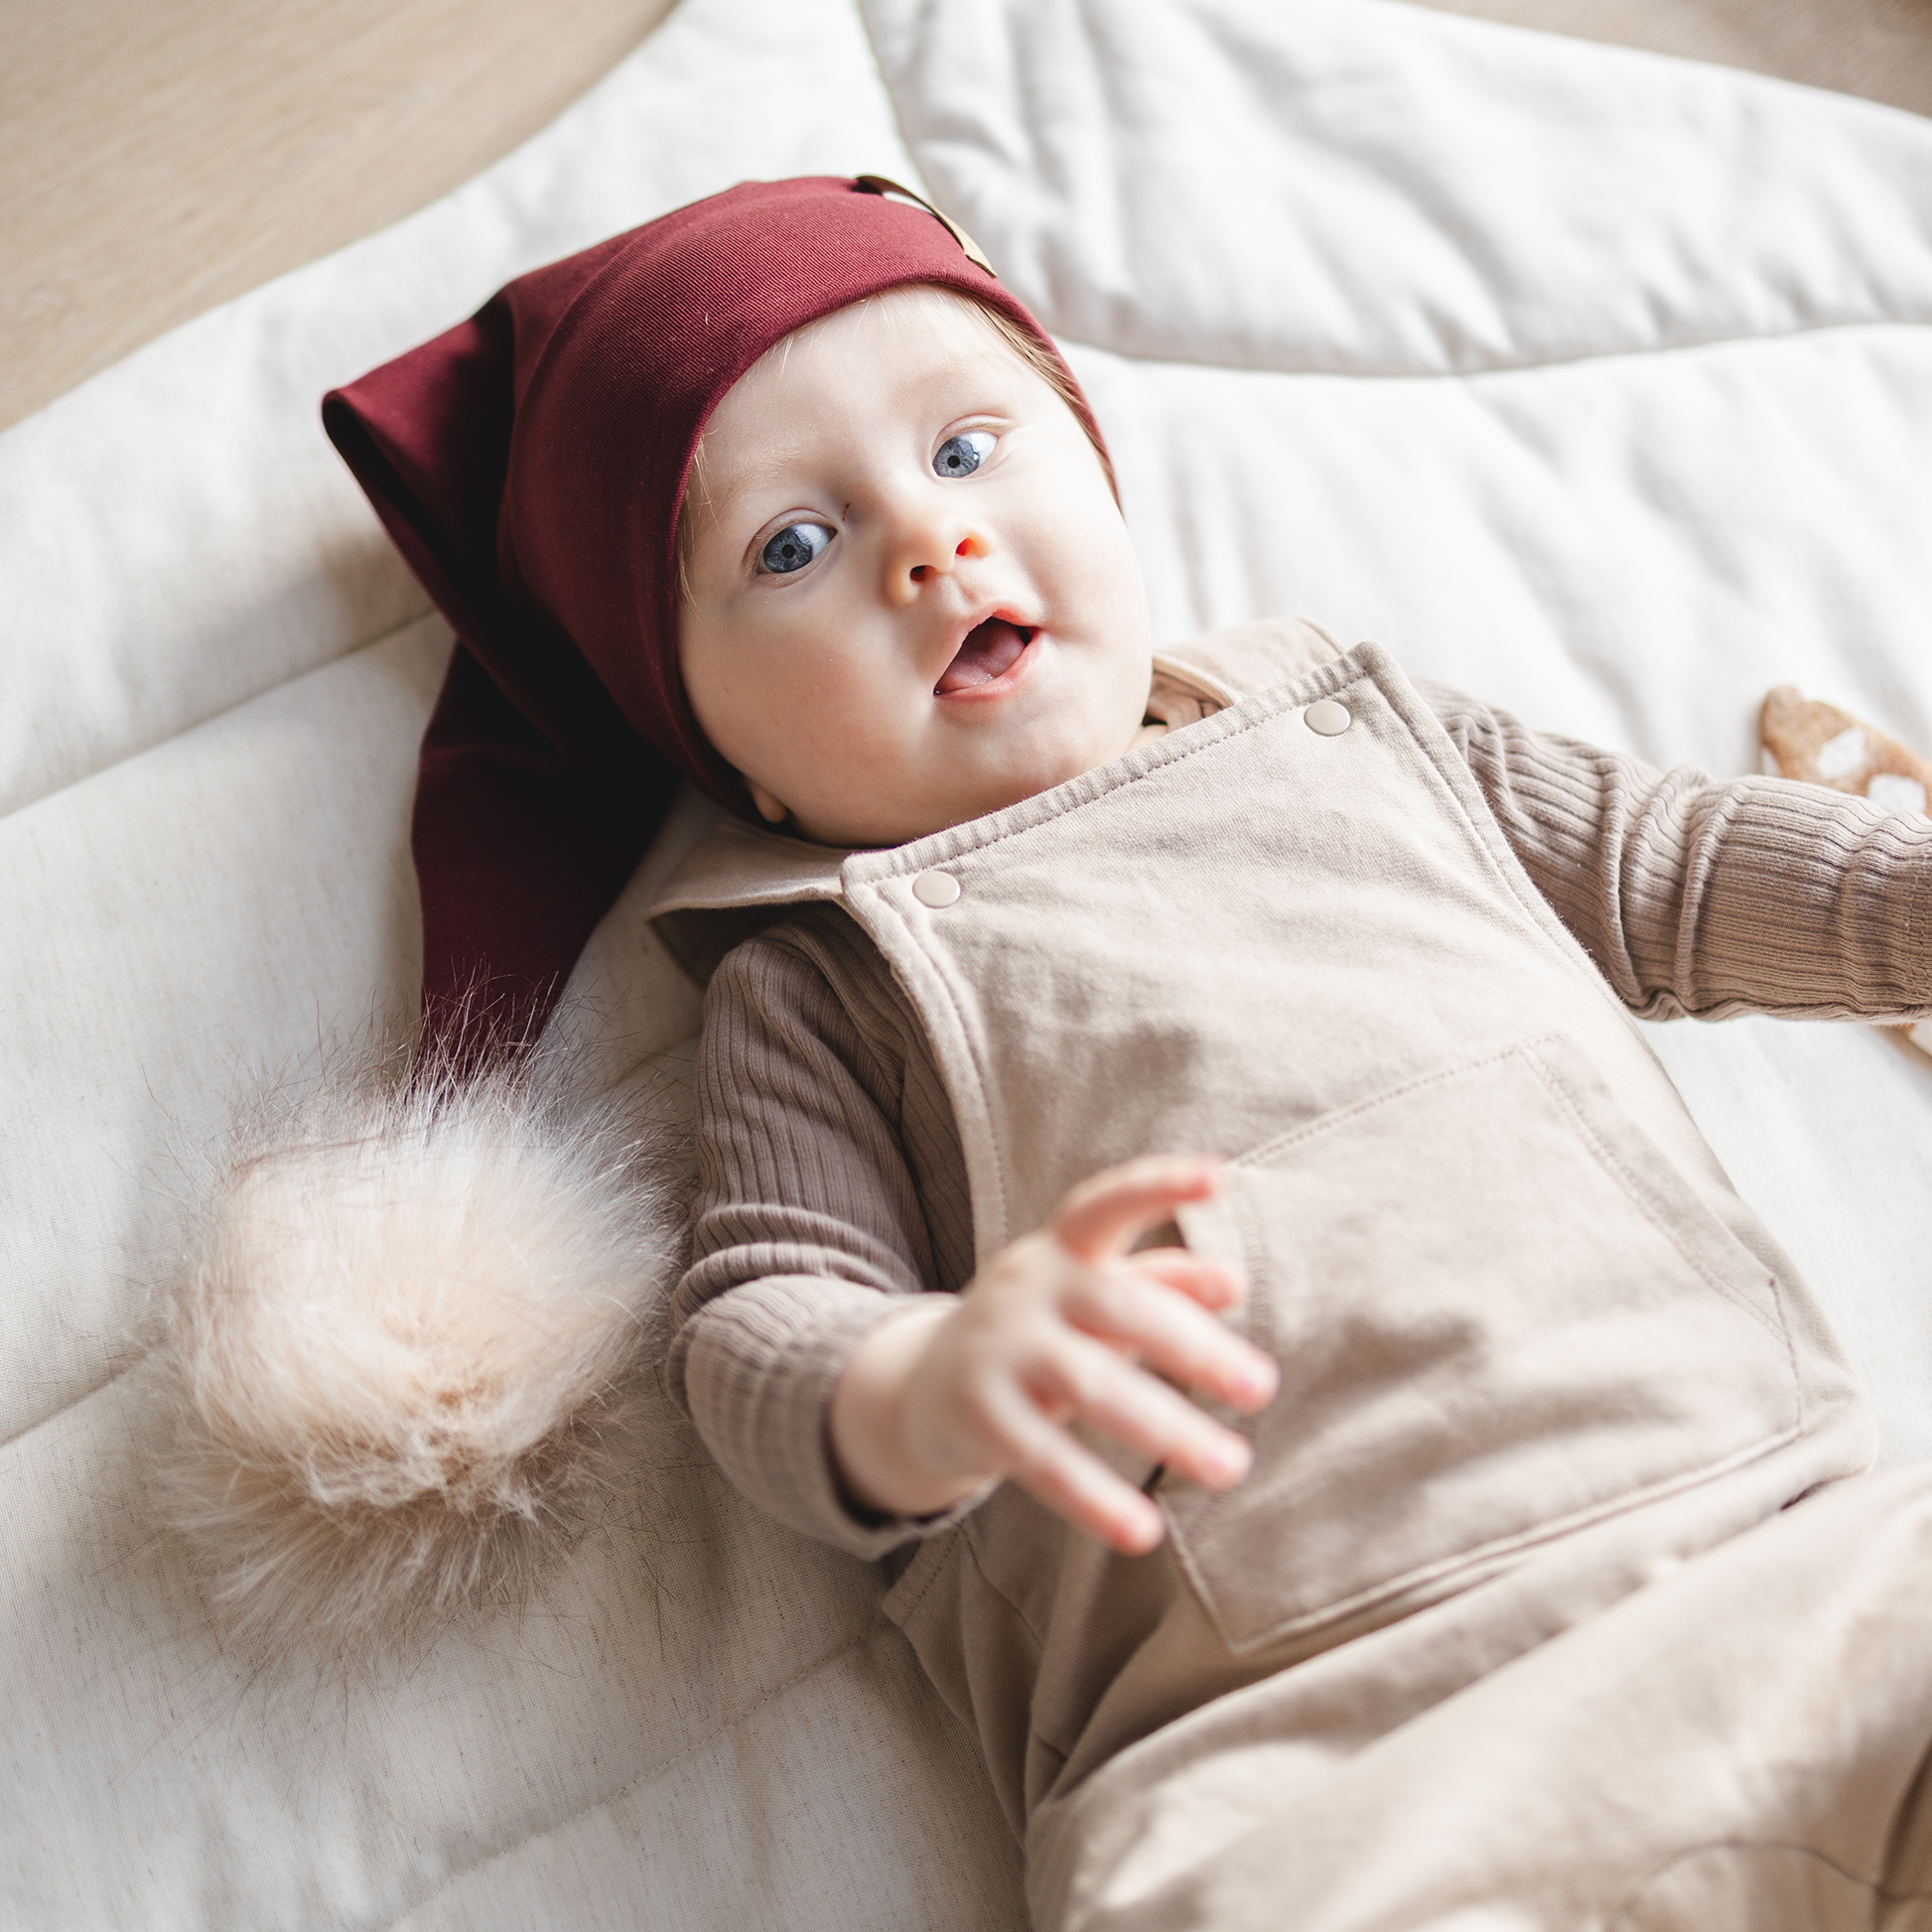
This pattern makes a long Santa hat with a turned-up brim that will fit the whole family. The hood is sewn from two parts: hood and cuff. The hood is cut out against the folded edge and has no lining, the cuff is folded double and sewn so that no seams along the cuff are visible.
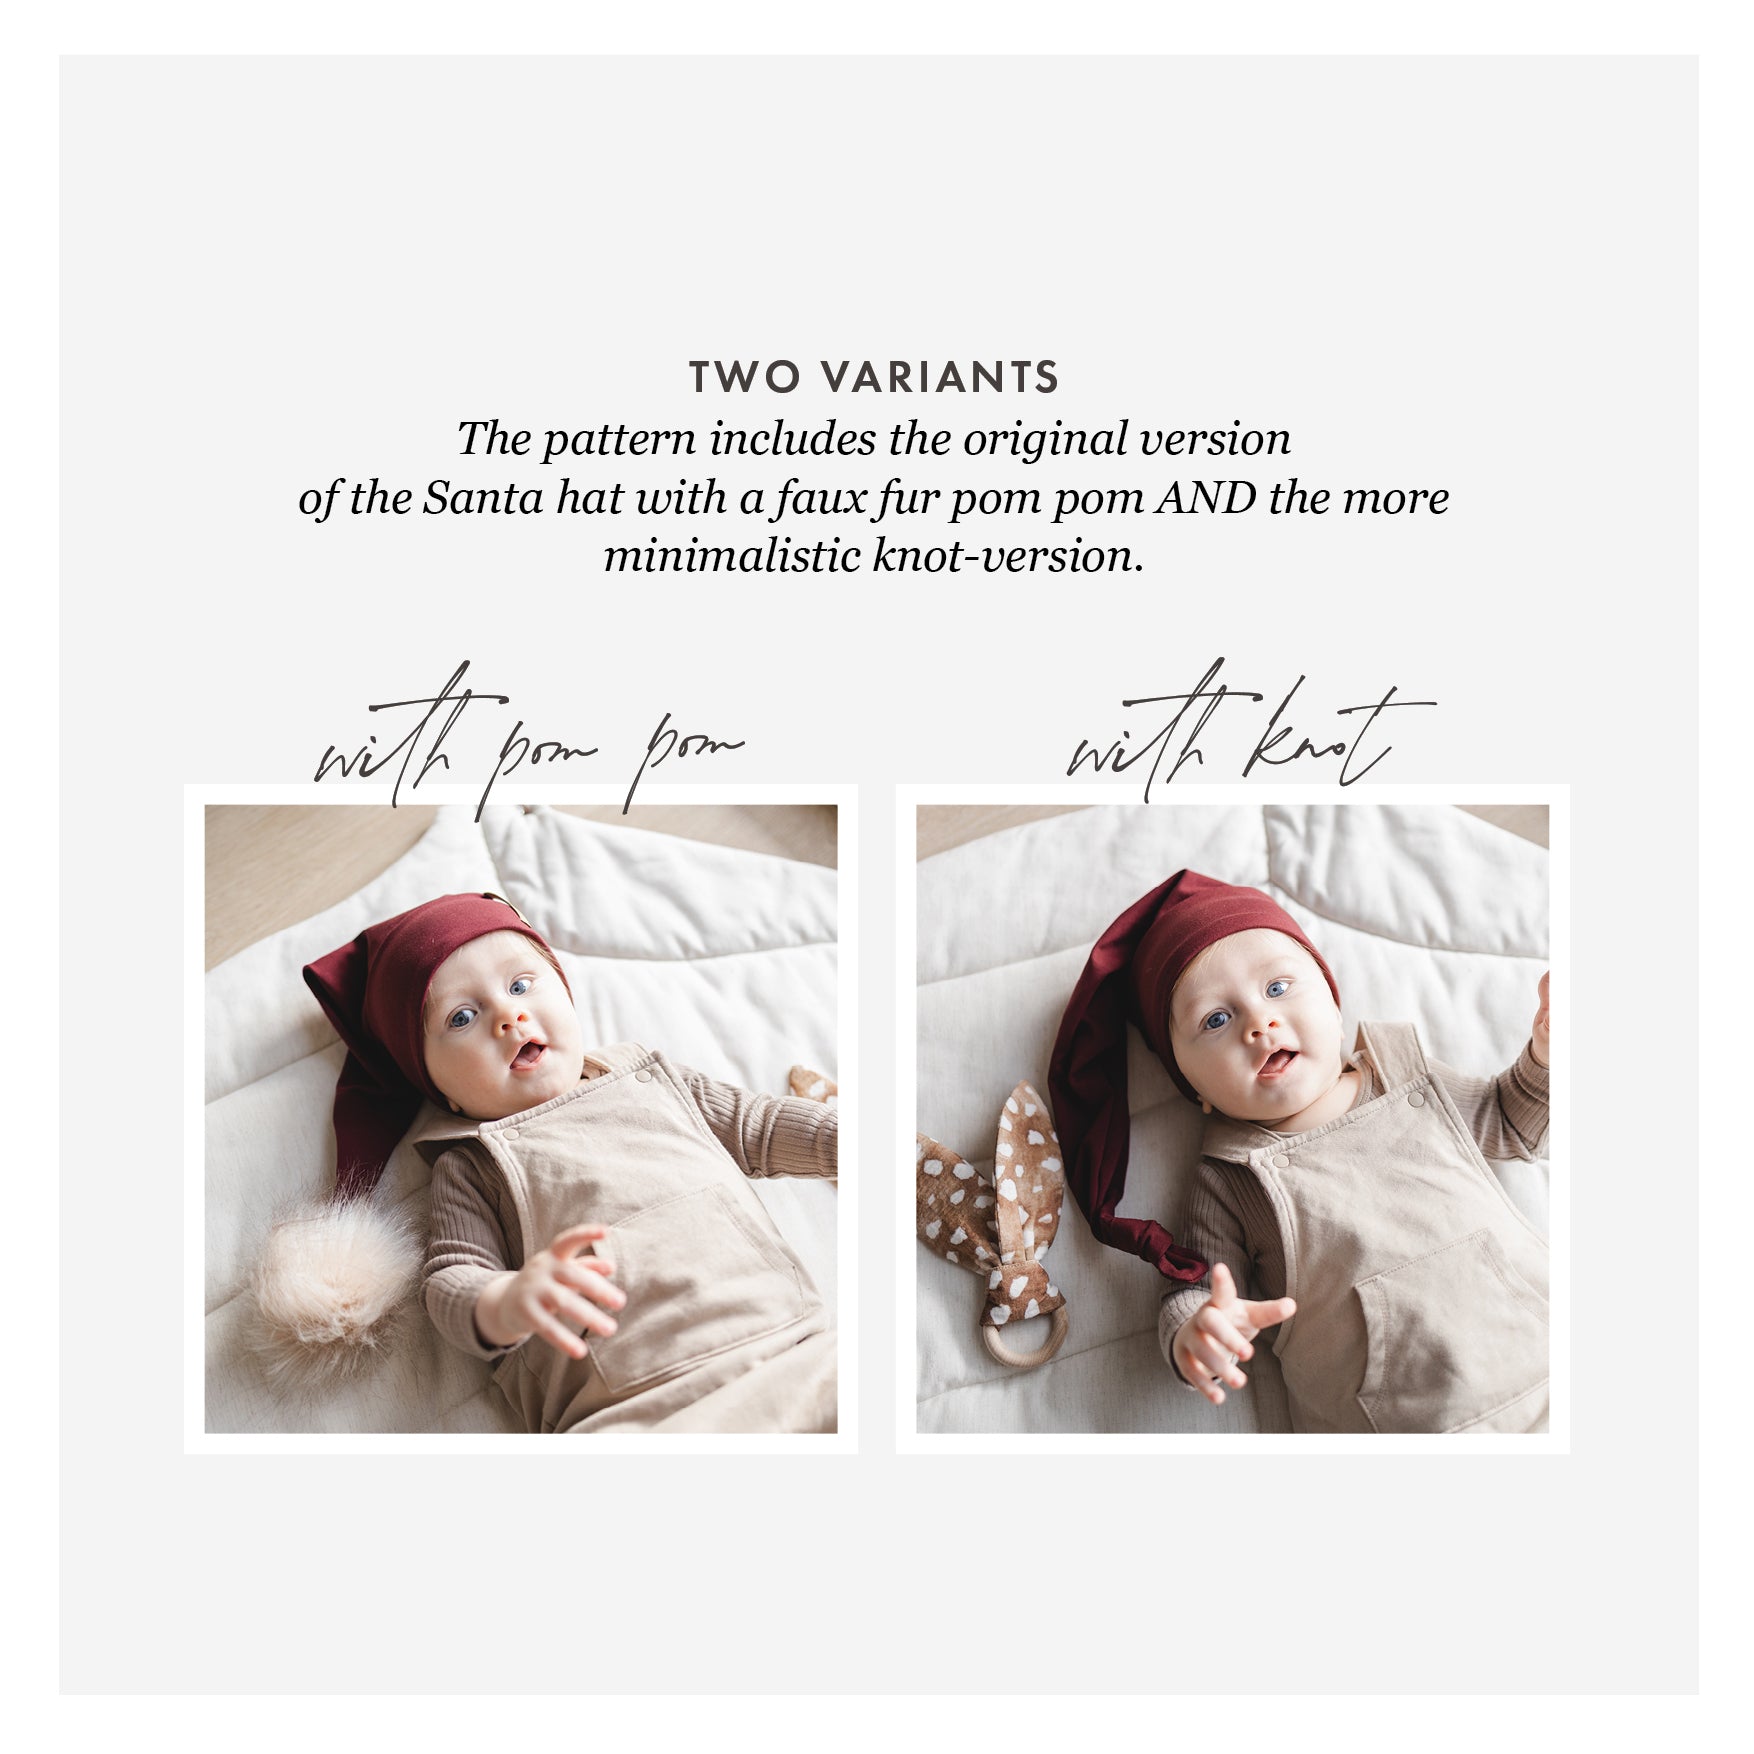
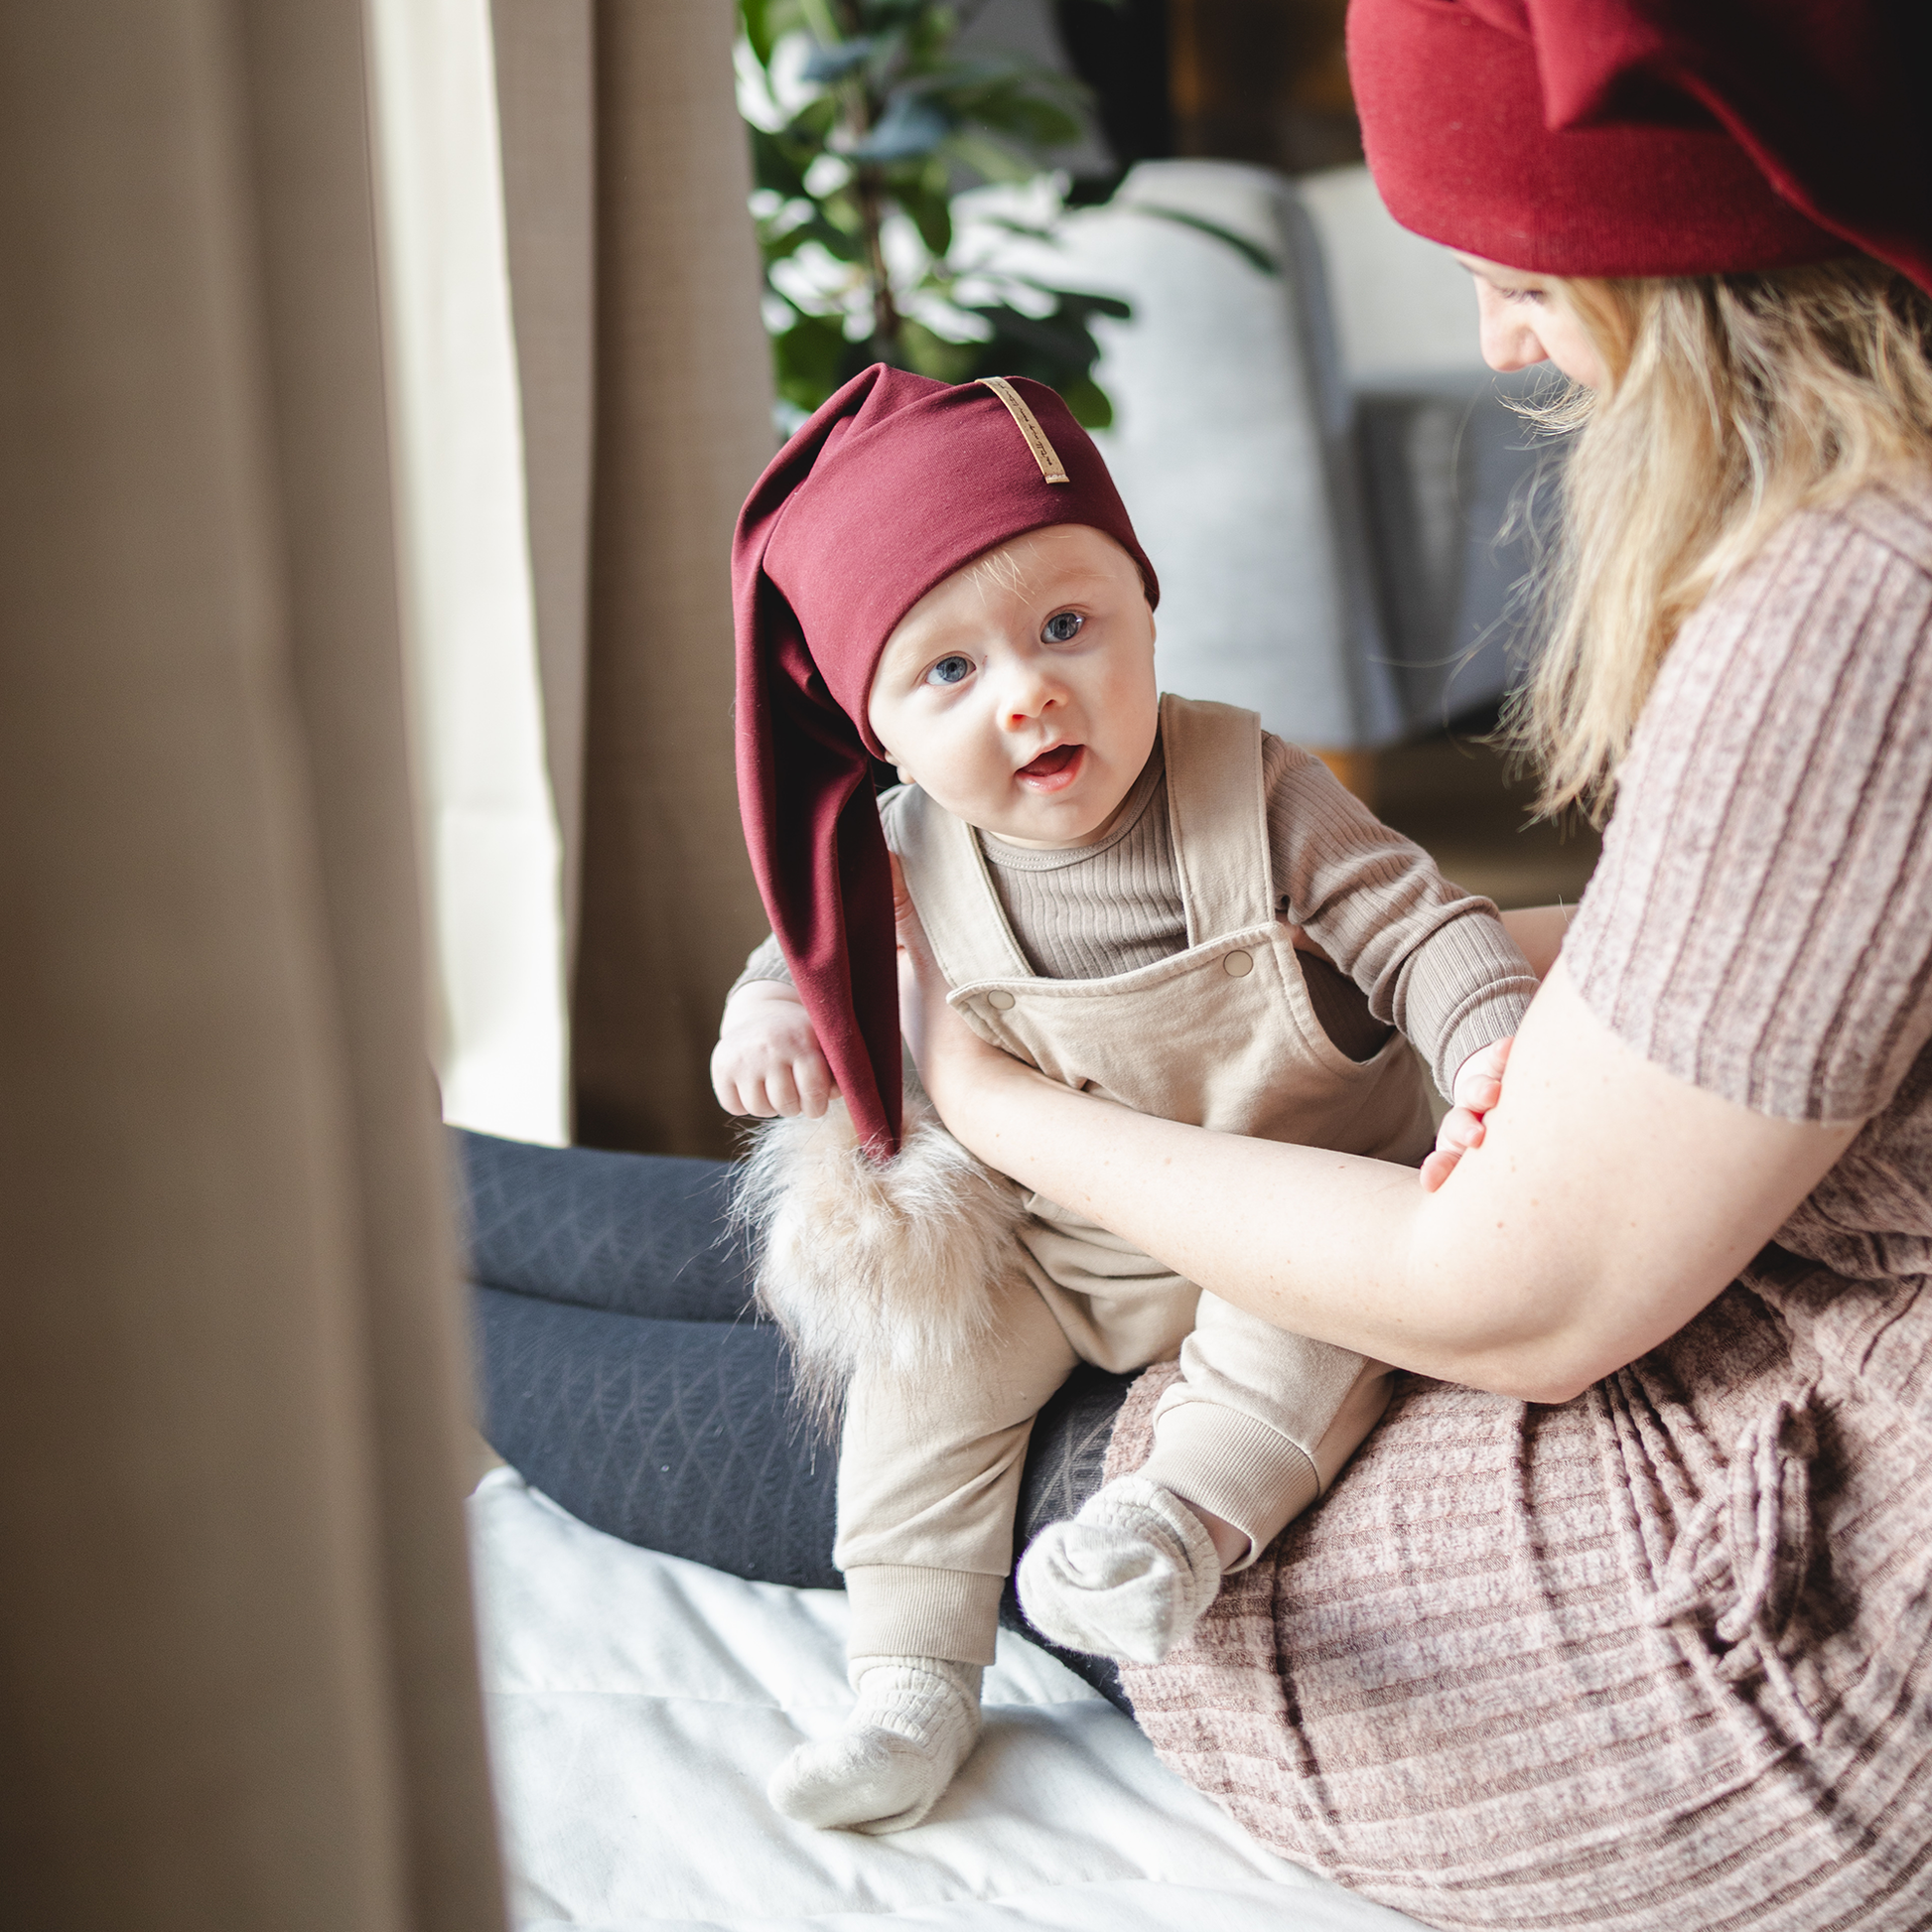
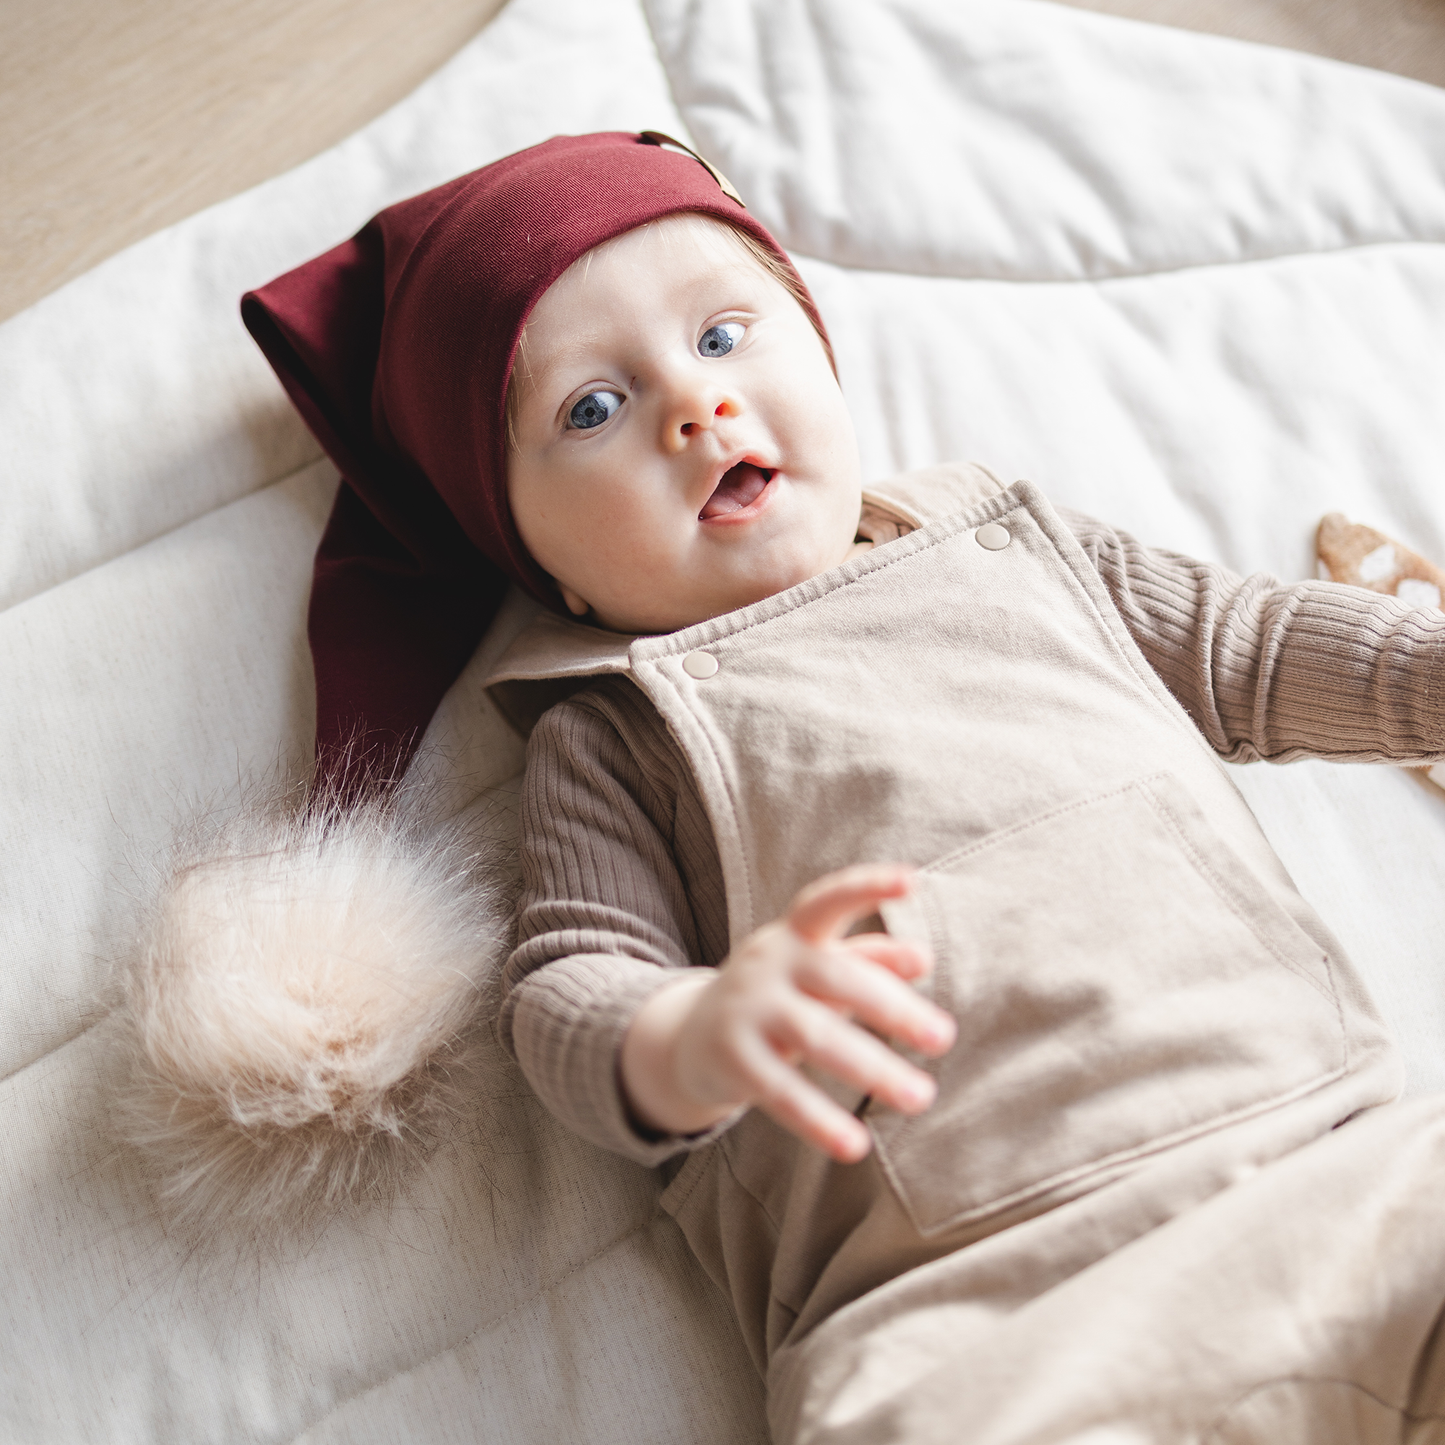
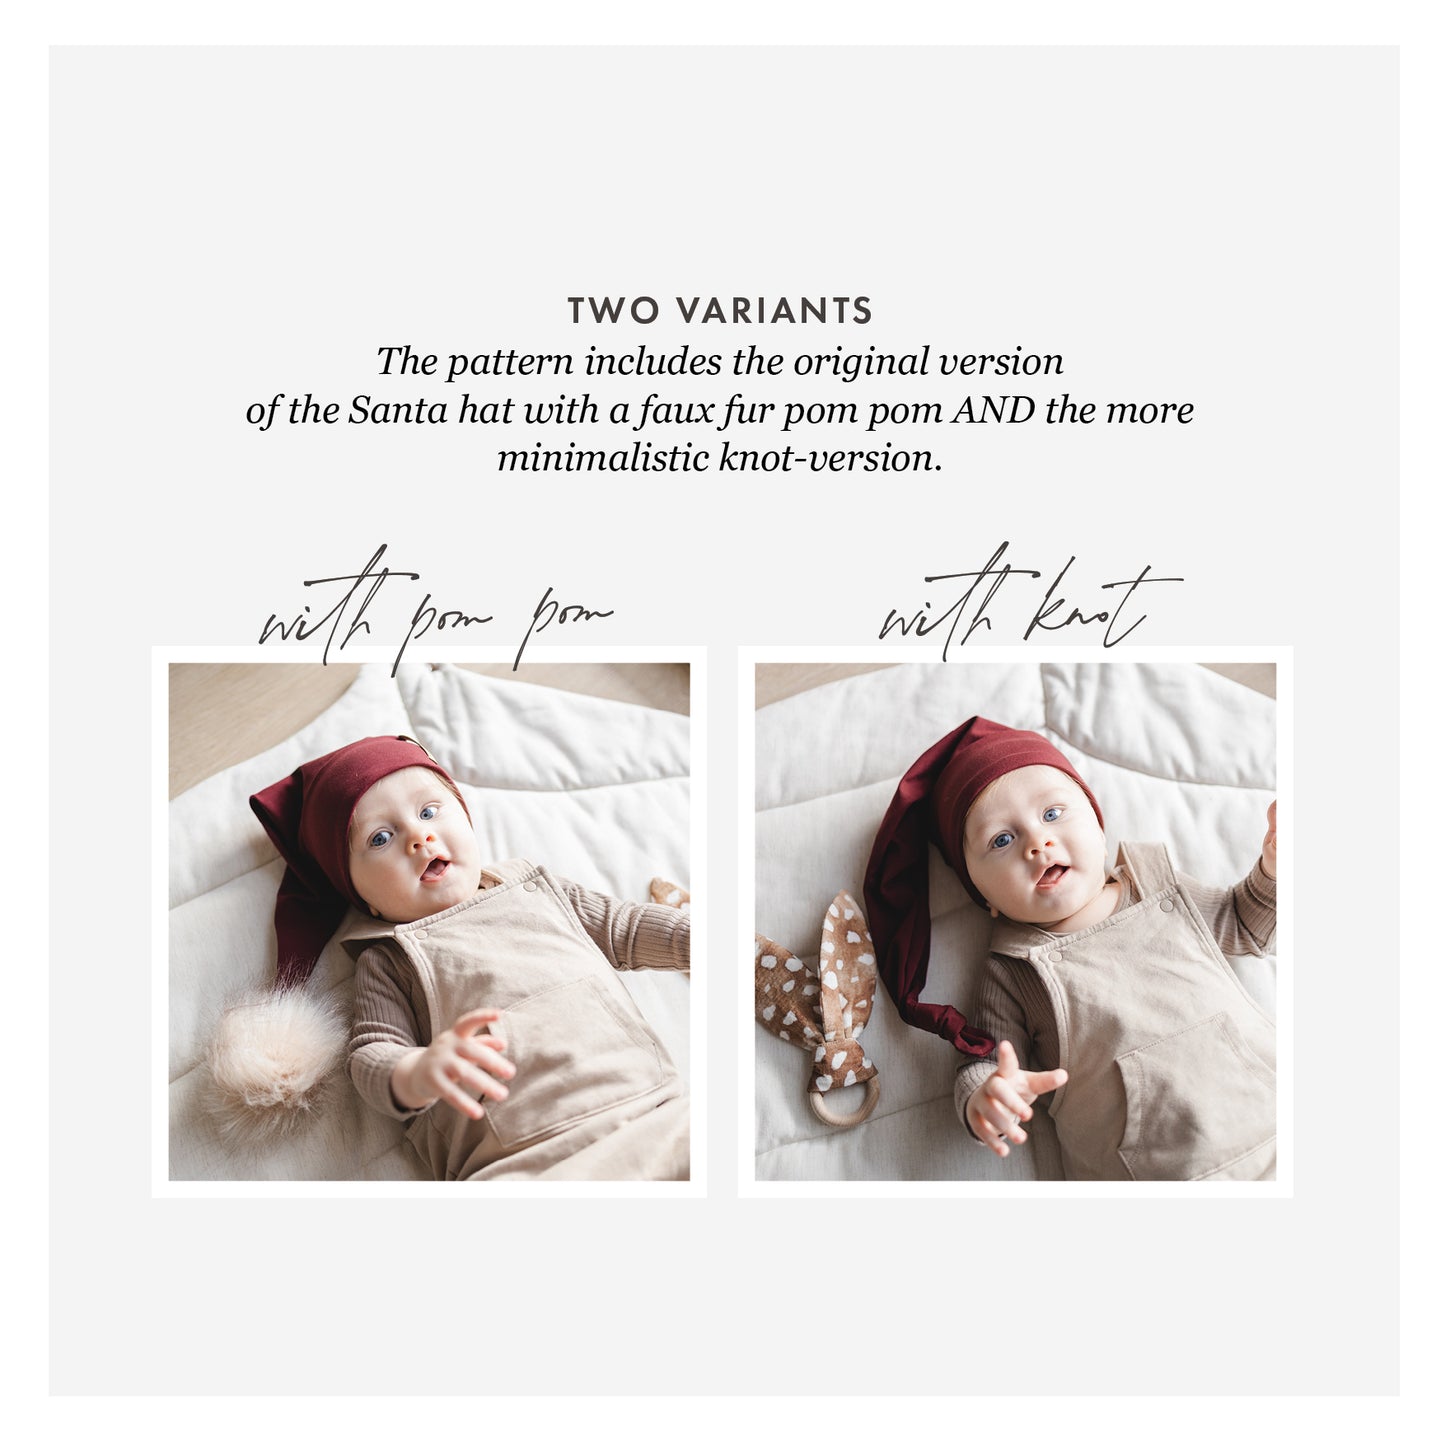
Feel free to top the Santa hat with a fluffy faux fur pompom. The pompoms I used for the hats in the pictures are 10 cm (children's hat) and 15 cm (adult hat). For a baby hat, I would use a slightly smaller pompom.
The hood can also be decorated with a sewing mark, e.g. my double fold sewing mark in cork fabric.
The Santa hat is sewn in a knitted fabric with 40-50% stretch . You can use this stretch guide to determine the stretch percentage of your fabric.




Videoresurser
Something you're thinking about?
common questions
How are PDF patterns delivered?
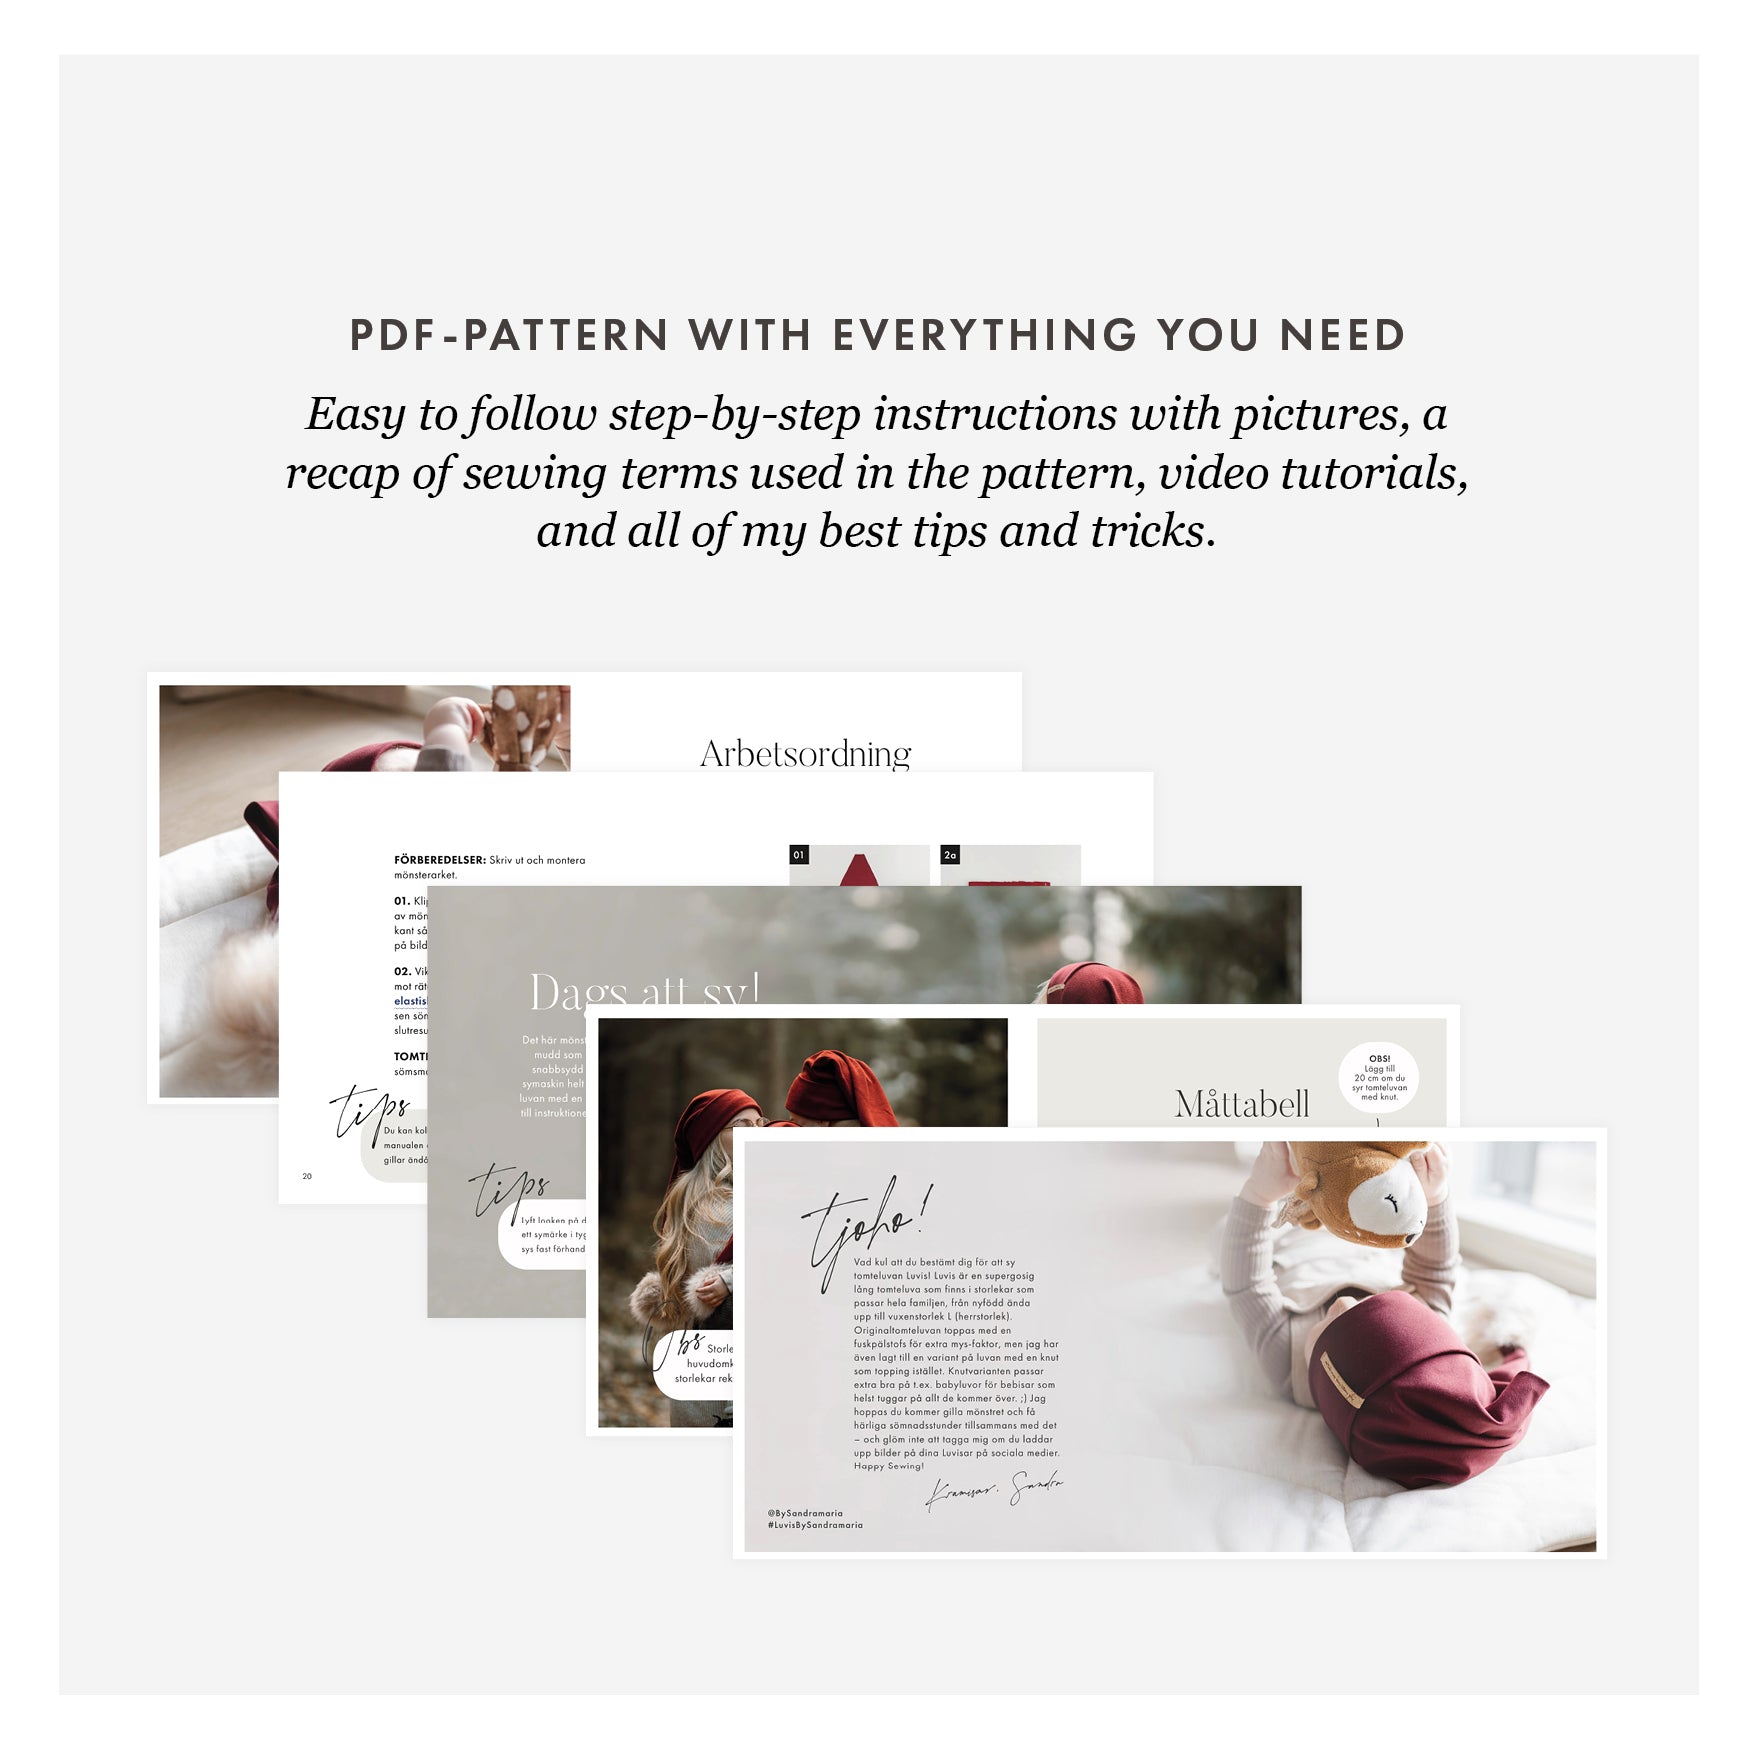
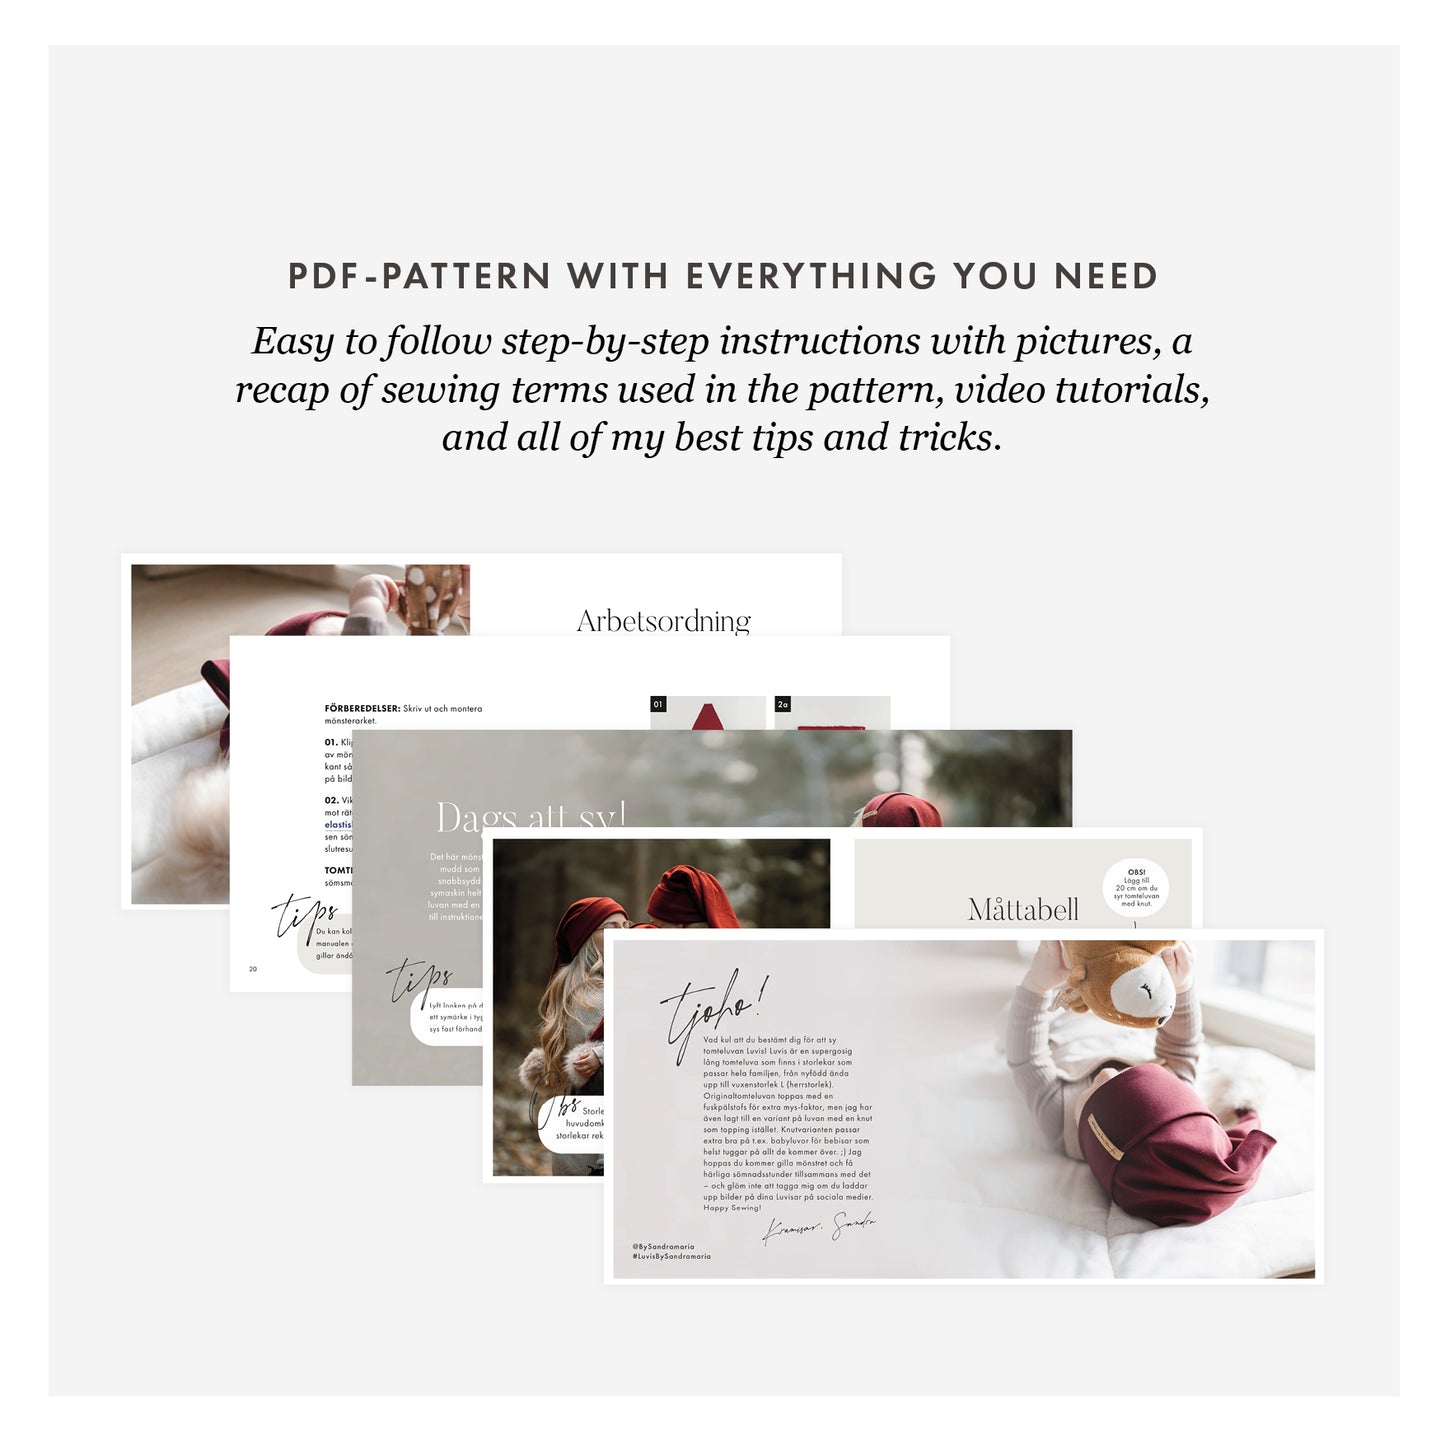
The pattern is delivered as a .zip file to your inbox within 30 minutes of purchase and contains:
- Step-by-step instructions with accompanying images as a PDF file
- A pattern sheet for home printing (several pages A4)
- A pattern sheet for printing at e.g. printing office (one page in large print format)
The pattern for home printing (size A4) needs to be assembled before use. Here you will find a video on how to assemble PDF patterns.
What does stretch percentage mean?
The term "stretch percentage" is used to indicate how much a fabric stretches.
This should not be confused with the proportion of elastane present in the fabric (eg jersey 95% cotton, 5% elastane).
Some patterns are created with a certain percentage of stretch in mind, and if your fabric has a different percentage of stretch, you may need to adjust the size.
In all By Sandramaria patterns' product descriptions, it is clearly stated if you need fabric with a certain stretch price to be able to sew the project. In that case, you see this even before you buy the pattern.
You can e.g. use this stretch guide to determine the stretch percentage of your fabric.
Levels of difficulty
★ 1 – Easy / Beginner
Patterns in this category are designed so that you don't need any prior knowledge to get started. In the pattern, you will see me explain the various steps step-by-step through text and images, and in some patterns I link to more comprehensive video instructions.
In this category you will encounter concepts such as e.g. right side, wrong side, against folded edge, cut out two mirror images, straight stitch, zigzag and simple embroidery.
------------
★ ★ 2 – Medium
Patterns in this category suit you who have sewn a few projects and feel a little more comfortable at the sewing machine. Even in these patterns, you will see me explain the different steps step-by-step through text and images, and in some patterns I link to more extensive video instructions.
In this category you will (in addition to the previously mentioned concepts) meet techniques such as e.g. stealth seam/invisible seam, straight corners, sew edging and sew zipper.
------------
★ ★ ★ 3 – Difficult
Patterns in this category assume that you are an experienced seamstress who knows the most common sewing techniques. Even in these patterns, you will see me explain the different steps step-by-step through text and images, and in some patterns I link to more comprehensive video instructions.


